In Part 1 of this two-article series on shallots and pho, I discussed shallot and its origin, how it is grown and harvested, and how widely it's used in Southeast Asian cuisine, especially Vietnamese cuisine. In this Part 2 of the series, I want to share how to prep and use shallots in making an awesome pho broth. So let's get to it.
The Pho Recipe
If you look at many pho recipes, whether beef, chicken or vegan, shallots together with a few other key ingredients add major contribution to making what a pho broth tastes and smells like.
For a restaurant-level volume of beef pho, we may be talking about making more than 40 gallons of broth yield for every batch. Many higher volume pho restaurants make much larger batches.
Depending on each individual recipe, the amount of shallots for a 40 gallon pot of pho broth may range from 4 to 6 pounds.
Using shallots in pho broth is a two-step process. The first step includes prepping the shallots and charring them, and the second step is to brew the charred shallots in the broth.
Preparing Shallots
Most pho recipes call for charring both shallots and fresh ginger before putting them in the brewing pho broth. We'll talk about fresh ginger in another post. Let's concentrate on the shallots here.
You don't really have to do much trimming of shallots in the kitchen. If you're home cooking, then you would probably have selected good firm shallots from the market. If you're restaurant cooking, then you probably get shallots in bulk delivered in large boxes. Either way, as long as you discard those showing sign of spoilage, you should be good to go.
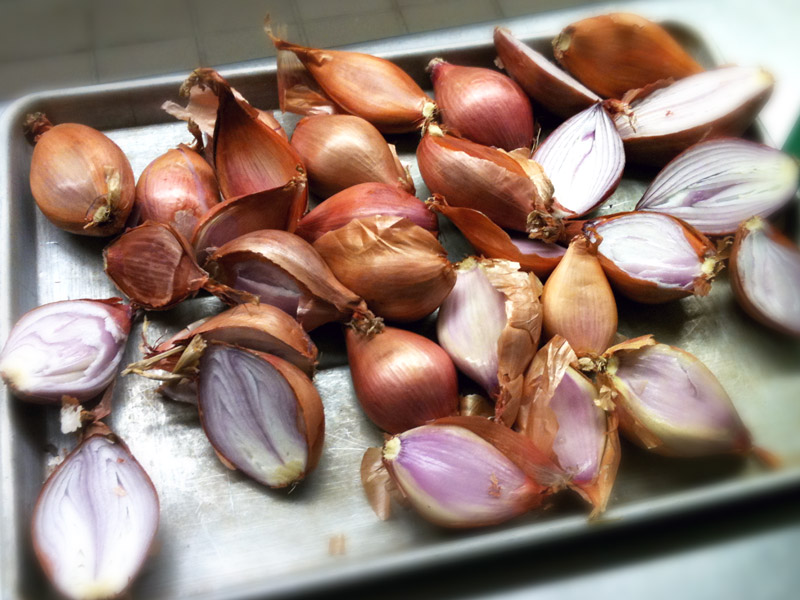
Wash the shallots thoroughly, paying attention to the roots to get all the soil out. Many chefs advocate trimming all roots and peeling off outer dried layers (like an onion). But for me, as long as the roots are clean, I leave them all on, roots, dry skins and all. Next, cut all shallots in halves. I cut even smaller sized ones, but you don't have to. This will expose more surface for heat and charring,
We're now ready for charring them shallots.
Charring Shallots (or Roasting, Broiling, Grilling, or Charbroiling)
There are many ways to do this. Regardless of method used, the end goal is the same. That is, to impart intense heat to the shallots so that they burn or char (to black) and release the caramelized sweet and fragrant juice which will be imparted to pho broth later. You don't care if you actually cook the shallots, but you do want to have the juice caramelized, sizzling and oozing.
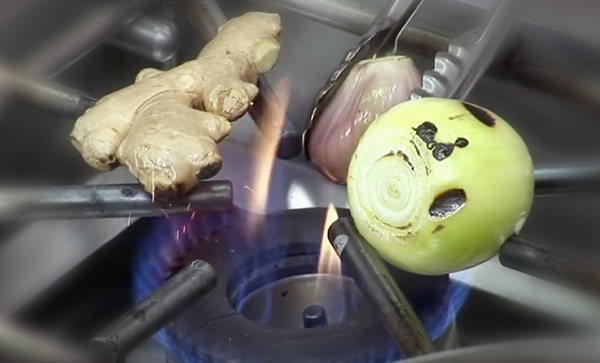
In old Vietnam, people char shallots and onions over open flames. It's still the best way to quickly and efficiently charring ingredients. The flames will touch the shallot and will heat and burn it quickly. Just watch out for the burnt outside layers and their ambers flying away. Here in the U.S., you can char shallots over open flame on your stove, or you can charbroil it. Or if you want to use a BBQ grill, that will work too.
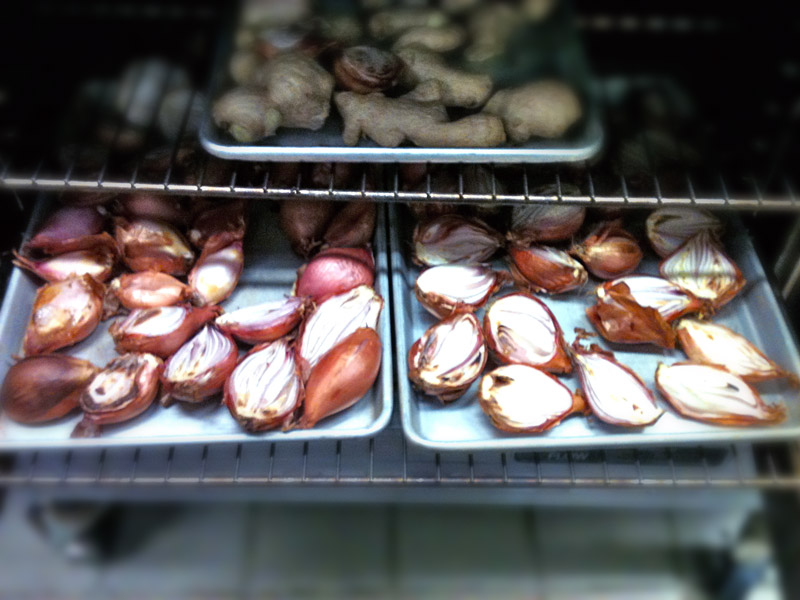
For restaurant cooking, charring over open flames may be too labor intensive, so the acceptable method is to broil or roast them in ovens.
In the photo above, I show the shallot and ginger pieces being put on racks of a commercial convection oven. I give it dry and circulating heat above 450°F for about 45 minutes. Vary your time to get a good char on the shallots, it's good for the broth.
Adding Shallots to the Broth
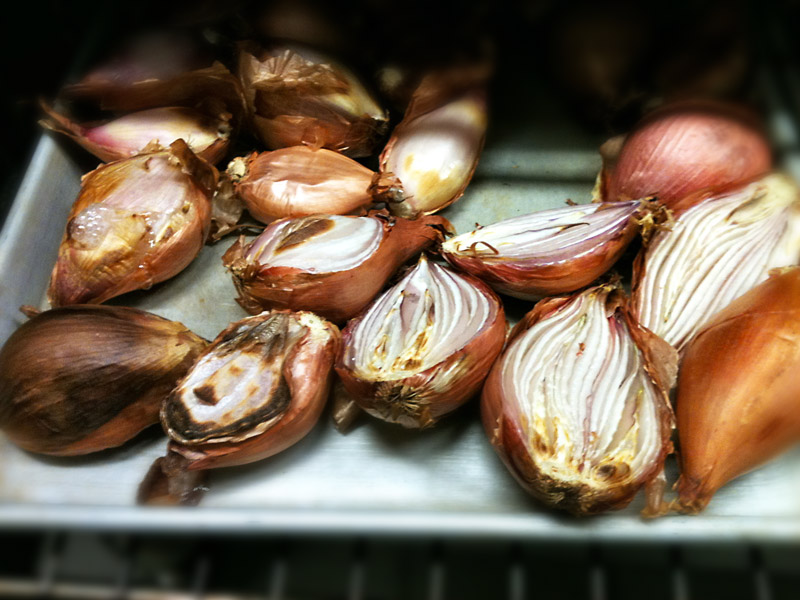
Once the shallots are done charring, they will look dry, have blackened patches, and burnt skins. Thin edges will have burn marks. Keep everything and use them all in the broth.
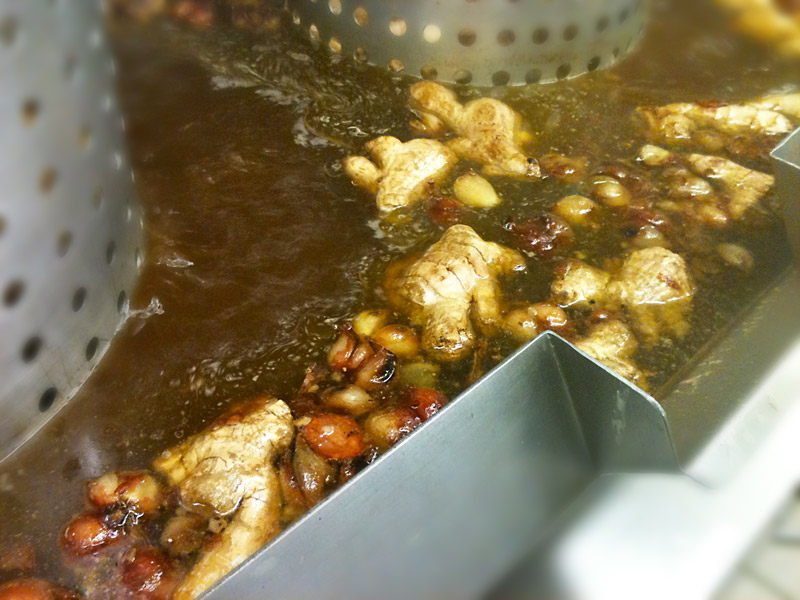
Depending on the particular recipe, shallots, ginger and other spices are normally added to the broth at the start of the hours-long simmering stage. It is during these hours of light simmering that the ingredients release their magic into the liquid.
For me, there is one little additional step that I always do as standard practice before dropping the shallots and ginger in: We mash them.
That's right. We mash the shallots (and ginger too). This is to help initiate release of the juice inside. You don't have to pound on them, you just apply constant crushing pressure on each piece to start release the flavor. I use a large meat tenderizer and sometime the bottom of a large pho ladle, but you can use pretty much anything you have in your kitchen for this job.
One more comment before we drop them in the broth. Some people like to put the shallots and ginger in a bag or cheesecloth. This will help when it comes time to remove them; one grab and everything is out. It's a good strategy, but personally, I think the ingredients are confined into too small of a space. I'd rather have them free floating in the simmering broth. This would provide plenty of exposed surfaces for efficient extracting of flavors throughout the simmer.
Finishing It Up
Again, depending on what the pho recipe calls for, the end of the simmering stage is when you remove all solids from the broth. Shallots would be one of these items. By this time, however, soft ingredients like shallots are pretty much beat up with bits and pieces dispersed in the liquid, much like onion in French onion soup.
The shallot has done its job, so we just need to remove them all to achieve a clear, pure and awesome pho broth. After all visible solids are removed, you may have to strain the liquid through a strainer to achieve a real clean and clear broth.
So there it is, a little journey of making pho broth from the perspective of the small but all influential ingredient called shallot. From time to time I want to concentrate on just one ingredient that makes pho a great food that many enjoy, and this is shallots' spotlight.
I hope you enjoyed reading this series on shallots, and love to hear your comments or feedback. Please leave them in the comments section below.
For those looking for great pho recipes, check out my other articles:

